Creating Categories in TeamDirectory
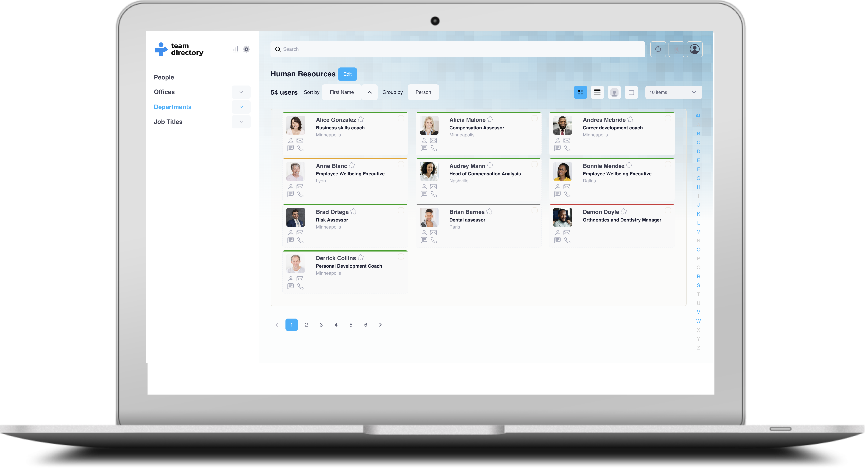
In TeamDirectory, administrators have the ability to create custom categories that help organize and group team members based on specific attributes from your organization’s Entra ID.
Accessing the Categories Section
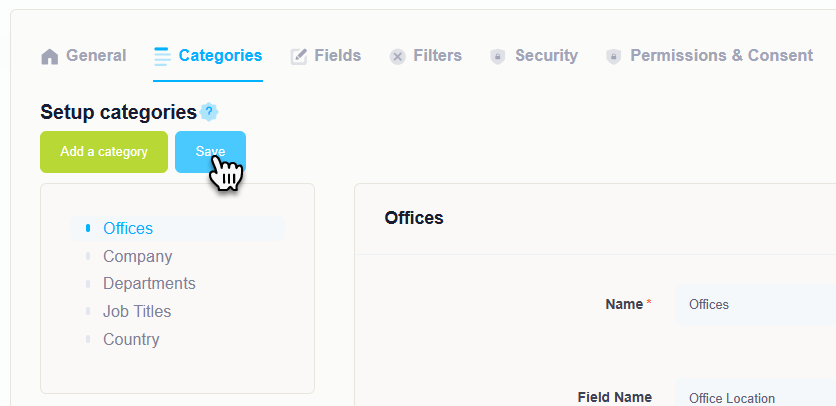
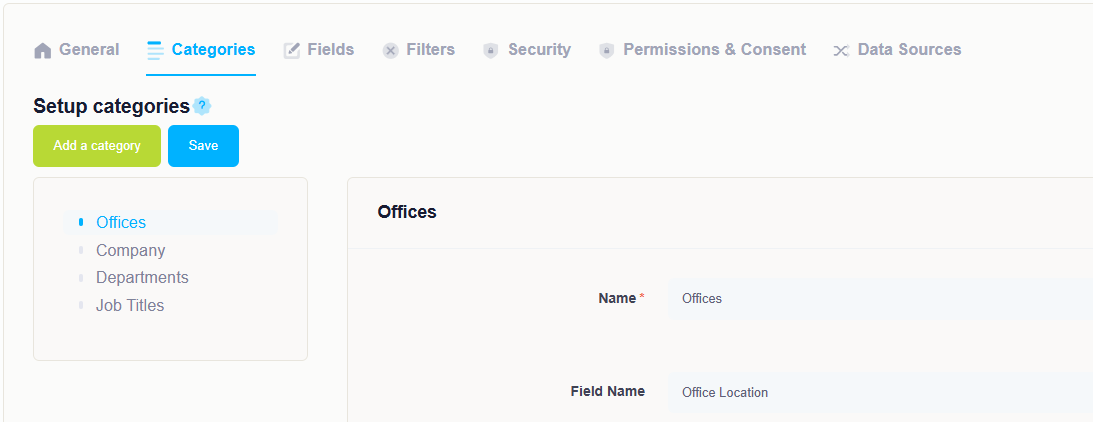
To get started with creating or managing categories, navigate to the Categories section (https://app.team-directory.com/settings/categories) in the admin settings.
This page lists all the current categories within your organization. You can modify or reorder existing categories by selecting them from the list. To create a new category, follow the steps below.
Creating a Category
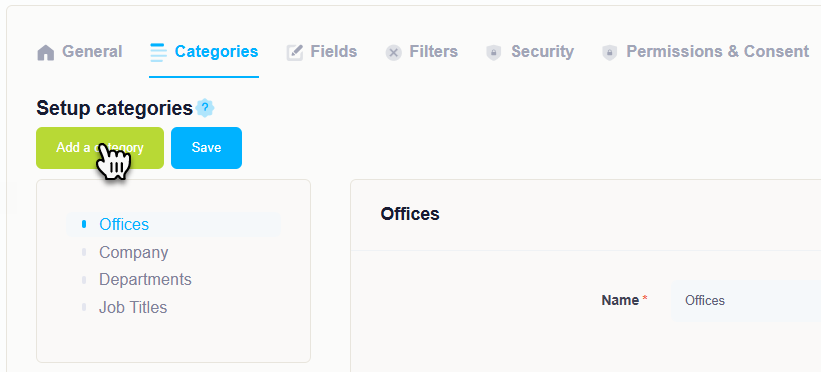
At the top of the categories page, click the Add a Category button to start the process of creating a new category.
Complete the Category Form
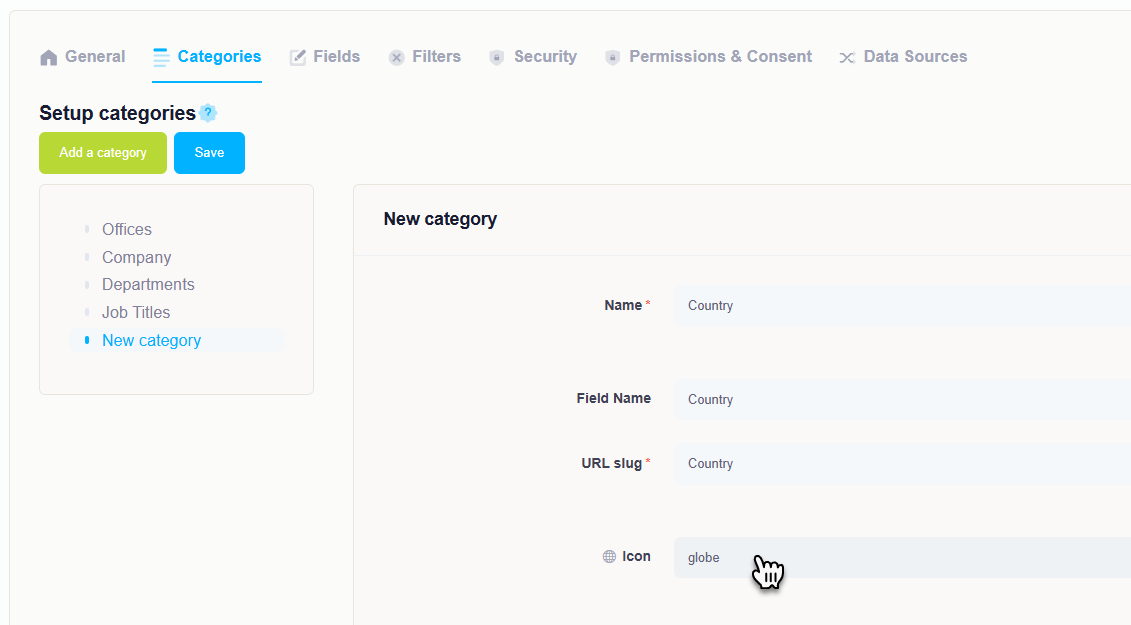
A form will appear where you need to enter details for the new category:
- Category Name: Choose a name that clearly identifies the category (e.g., Department, Office, Job Title).
- Entra ID Field: Select the relevant field from your Entra ID that will serve as the basis for the category (e.g., Department, Job Title, Location).
- URL Slug: Set a unique URL slug for the category. This will form part of the URL for the category’s page.
- Icon (optional): You can optionally choose an icon to visually represent the category in the interface.
Save the Category
Once you have completed the form, click the Save button. The new category will be created, and team members will automatically be placed into the appropriate category based on the selected Entra ID field.
